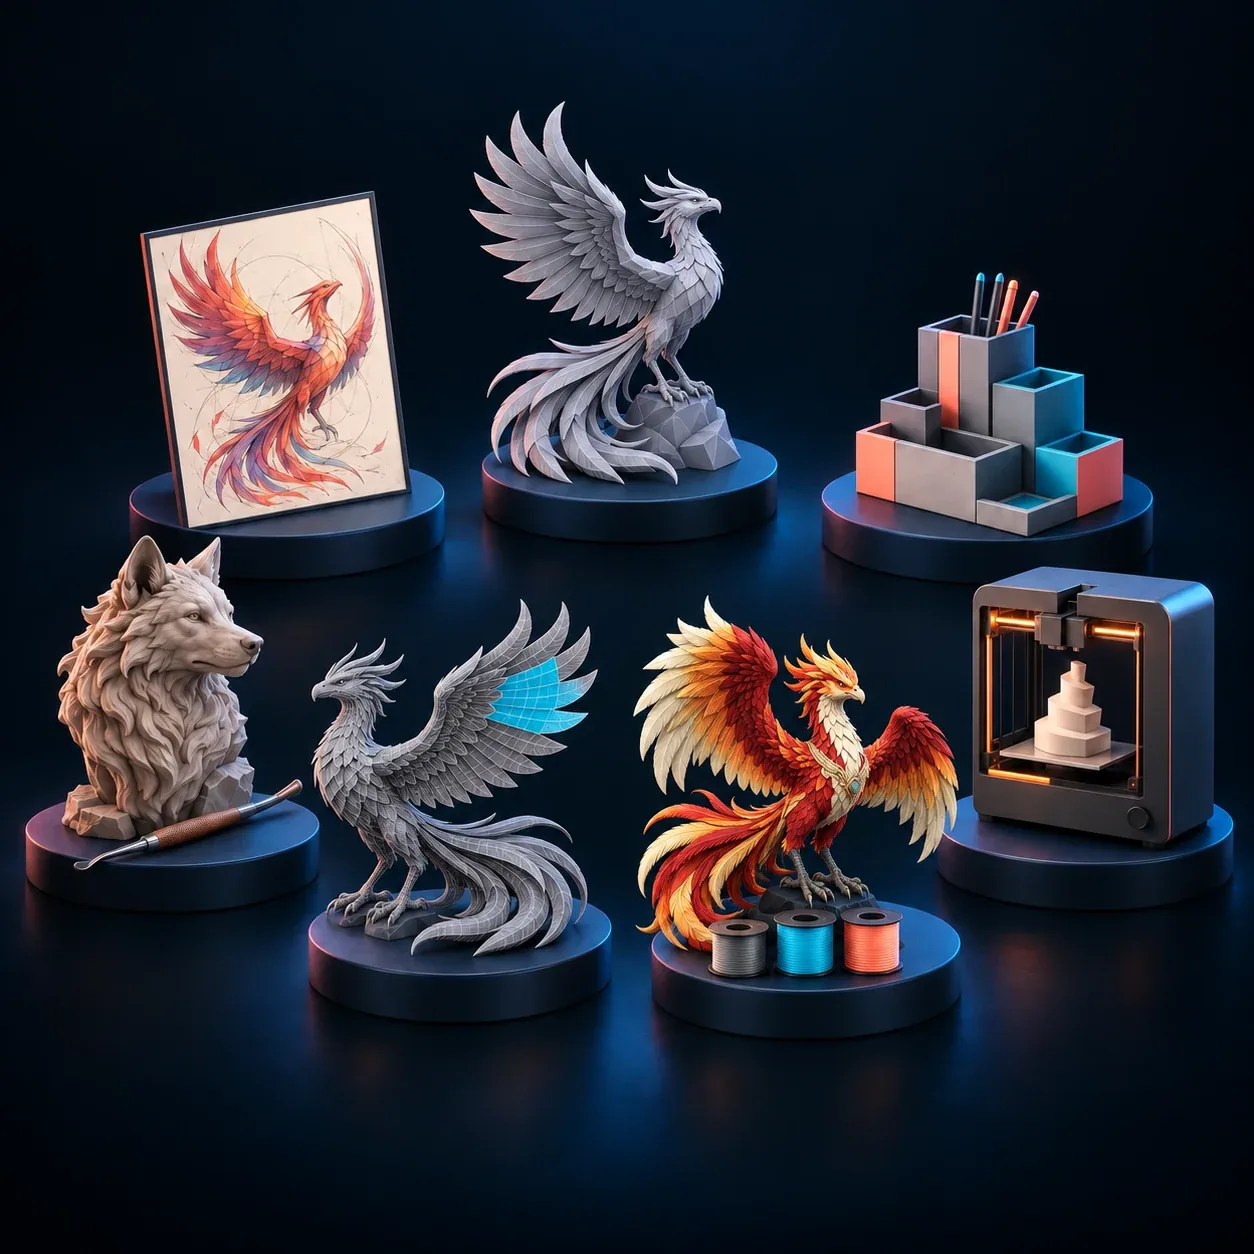
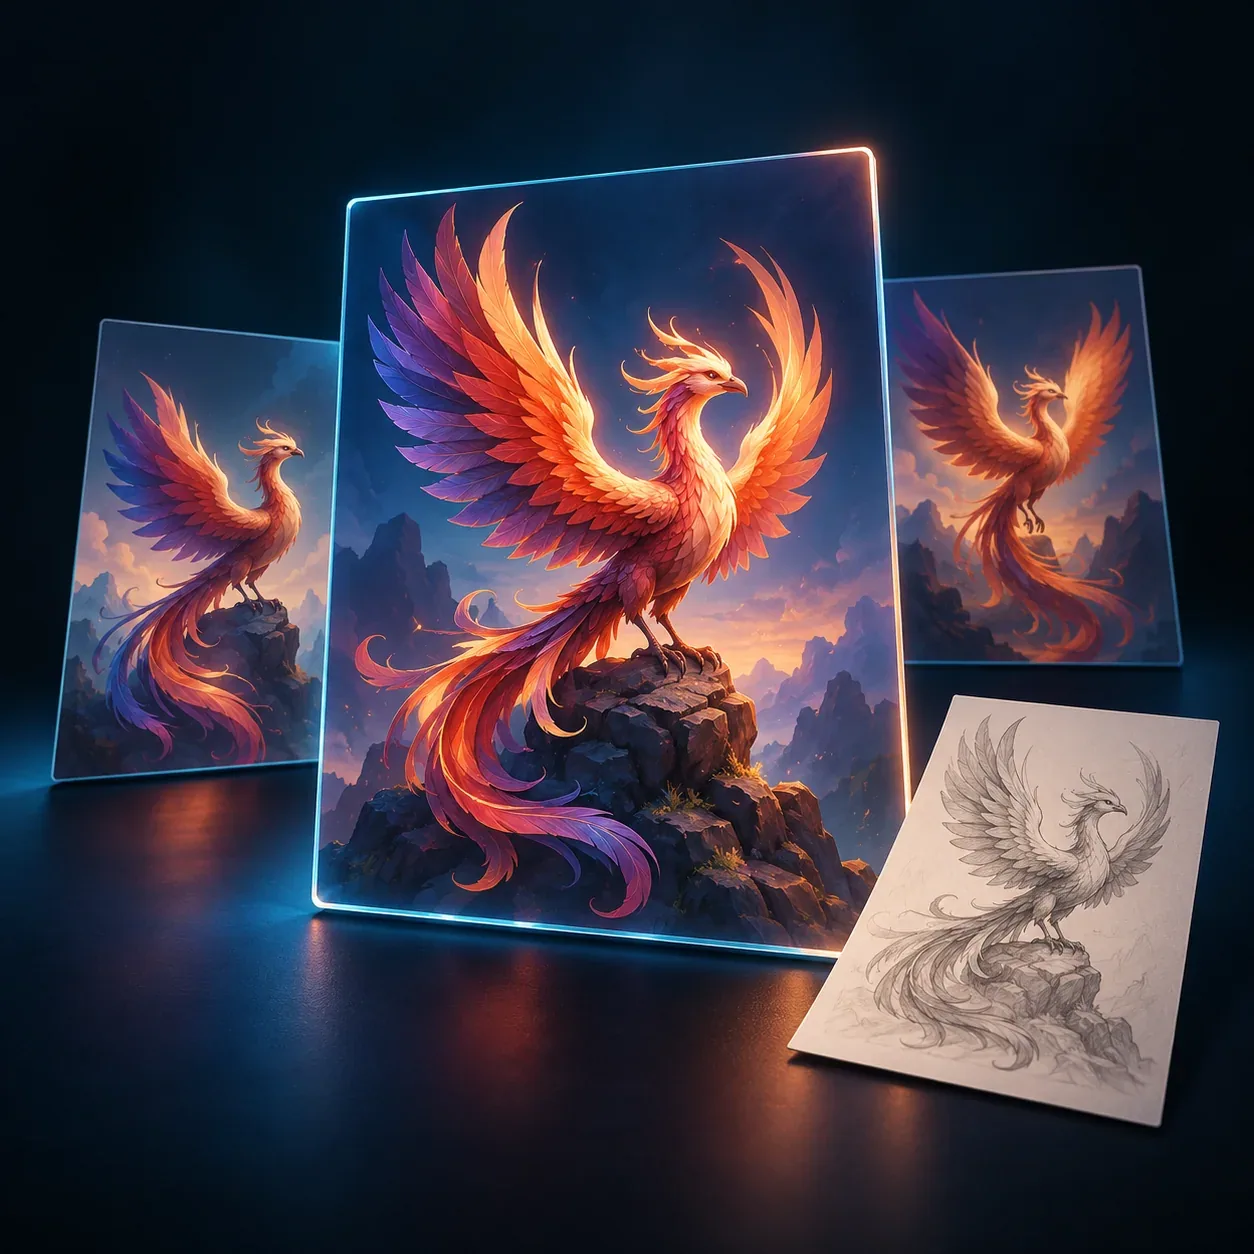
Eight connected studios. A clear starting point for your next idea, model or print.
The short version
Start with the task you have. Plan an image, create a model, build editable parts, or bring an existing file into the tool it needs. You do not have to use every studio for every project.
Illustrative artwork · not a product screenshot or verified print.
01Choose the right starting tool
02Understand inputs and outputs
03Find your next practical step
Which 3D modeling studio should you start with?
Choose the input and outcome that match your project. Use only the studios your project needs; there is no required sequence through all eight.
Explore the look before building a model.
Imagine Studio
Start with an idea, photo or supported model reference. Create and refine an image, then carry an approved direction into Create, Color or Premium Studio. A concept image is not printable geometry.
Before continuing: Review the image. Model generation and AI coloring are separate deliberate actions.
Use hands-on tools and Design AI for deliberate construction, such as a desk organizer or simple custom part. Keep the editable project when exporting a mesh.
Before continuing: Check fit, clearances and material before manufacturing.
Paint manually or use a paid AI action on an STL or supported 3MF. Review the assignments and export a supported multicolor 3MF for the next preparation step.
Before continuing: Verify filament mapping and actual layers in your slicer.
Turn an approved reference image into a full-color model. Inspect it, use supported touch-up tools, and download a GLB or continue to optional professional printing and delivery.
Before continuing: Model generation uses PrintNext Credits. Manufacturing, shipping and applicable tax are quoted separately.
Keep the original source, reference image and identifiable versions in Workspace. Use an offered studio handoff, or save/download the supported file and open it in the next tool. A normal link opens a studio; it does not necessarily transfer the model.
Images guide the look; meshes describe the shape; a slice prepares instructions for a specific printer.
STL normally carries geometry. Use a supported multicolor 3MF when filament assignments need to survive a handoff.
Review dimensions, geometry and material mapping after every transfer.
For your own 3D printer, inspect a compatible-profile slice or use your preferred slicer. Professional full-color printing is a separate service using an eligible original colored model, with a reviewed manufacturing and U.S. shipping quote.
The service uses retained original colors; Color Studio edits are not automatically included.
A good preview or successful slice does not guarantee a physical result.
Account allowances, AI credits and physical print costs are separate.
The guides and studio introductions are public, and prepared guest examples are available in Create and Color. Your own files and generation use the existing sign-in and account requirements.
Is Imagine Studio required?
No. Imagine is useful when you want to explore a visual direction first. Direct Create entry, editable Design work and existing-model workflows remain available.
Put it into practice
Your next step, when you’re ready.
The prepared example is free to explore. Sign in for your own work; AI actions use PrintNext Credits and account output allowances apply.