
Describe it. Create it. Make it real.
The fastest way from idea to 3D print.
What do you want to make today?
Describe what you want to make.
Your generated concept will appear here after you select Generate Image.
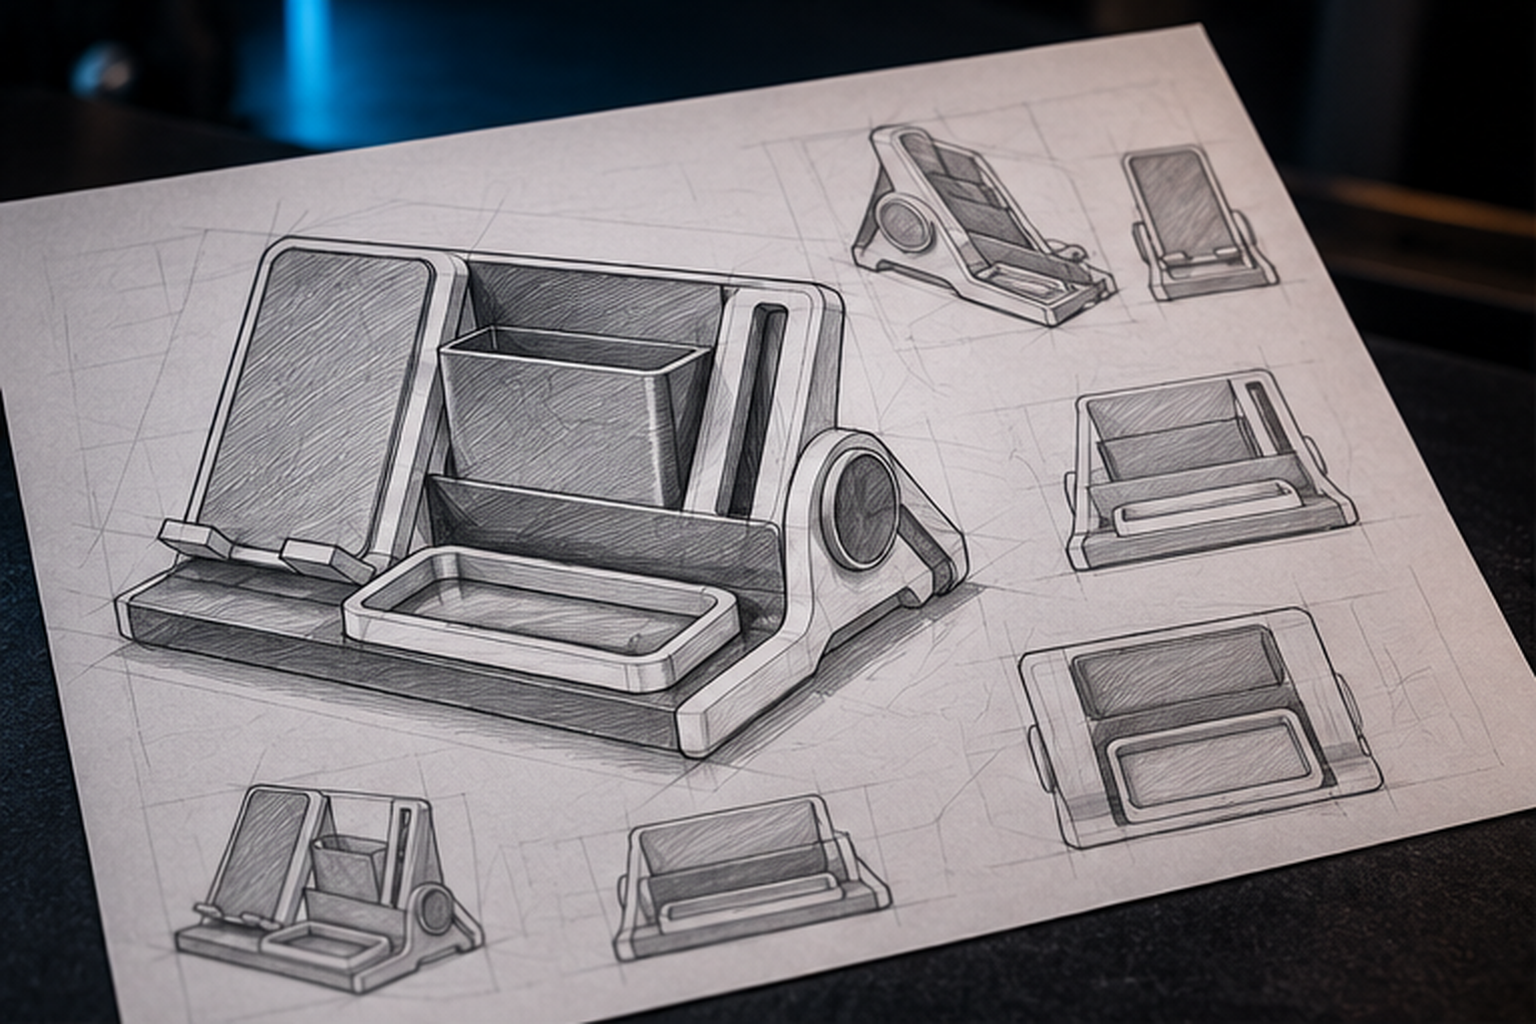
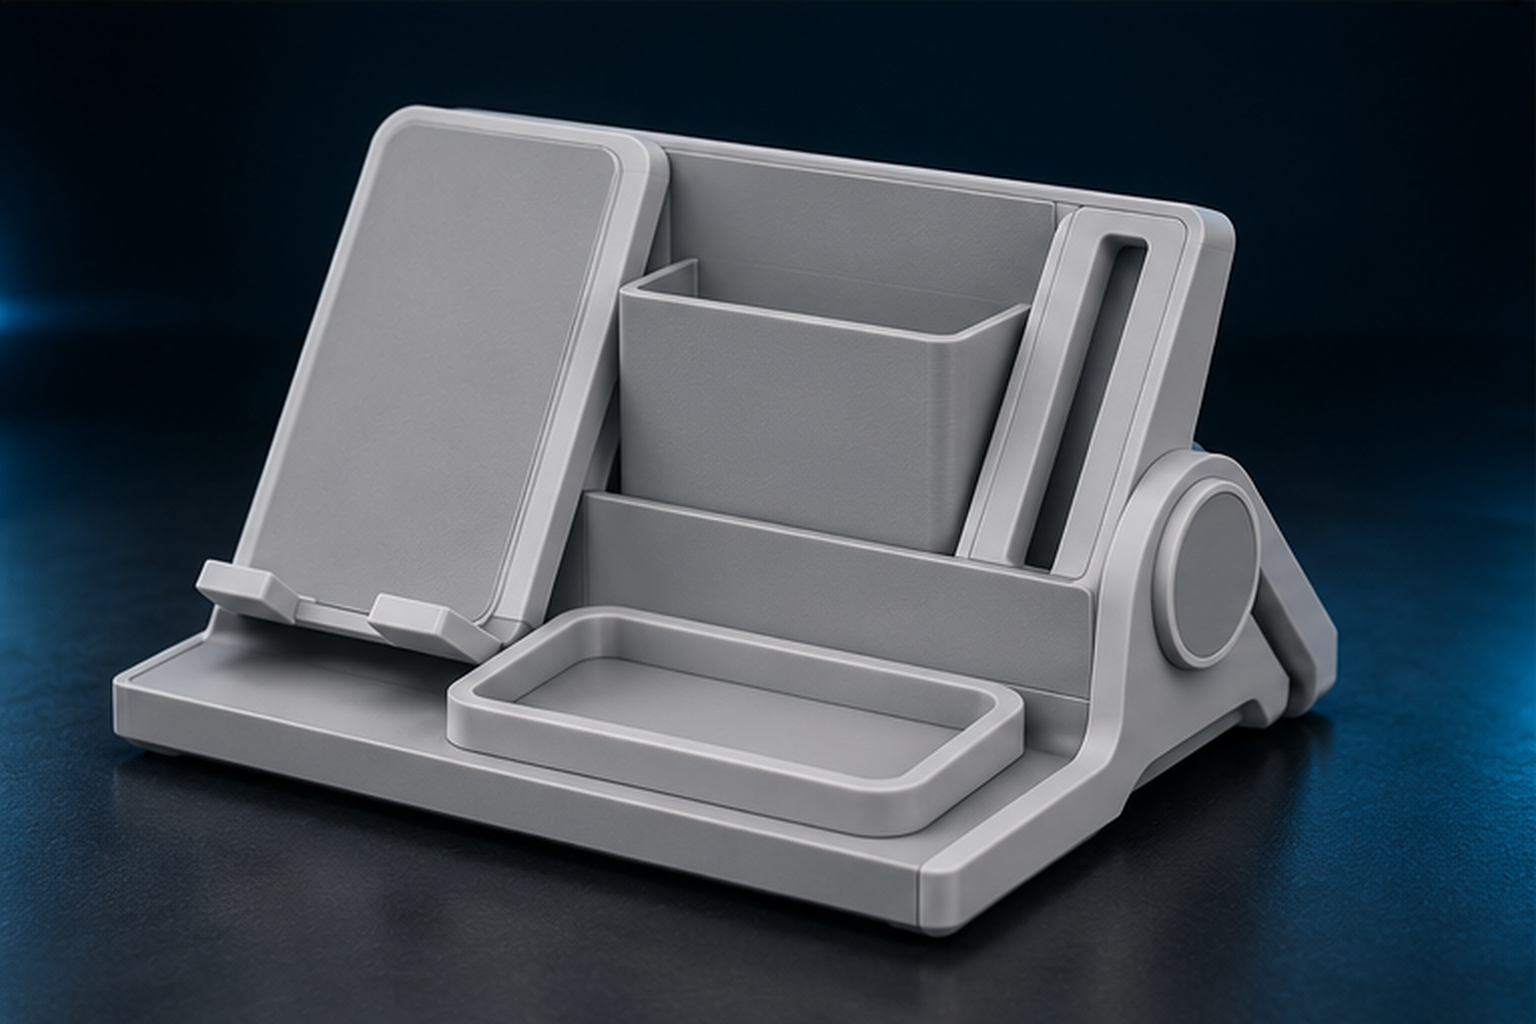
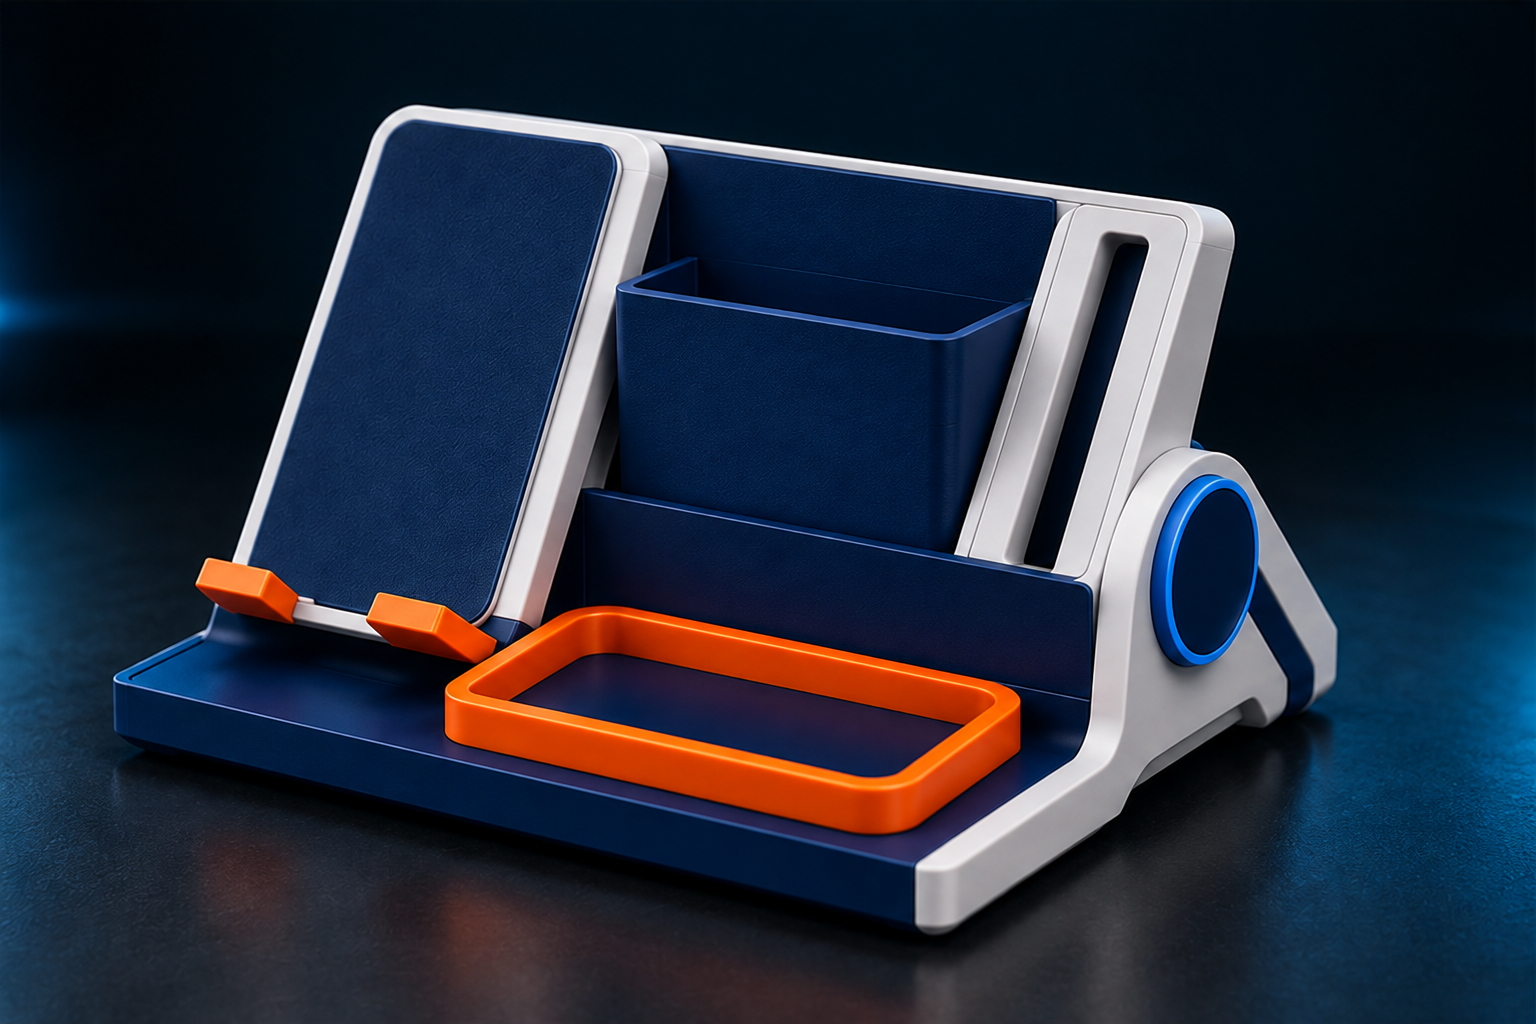
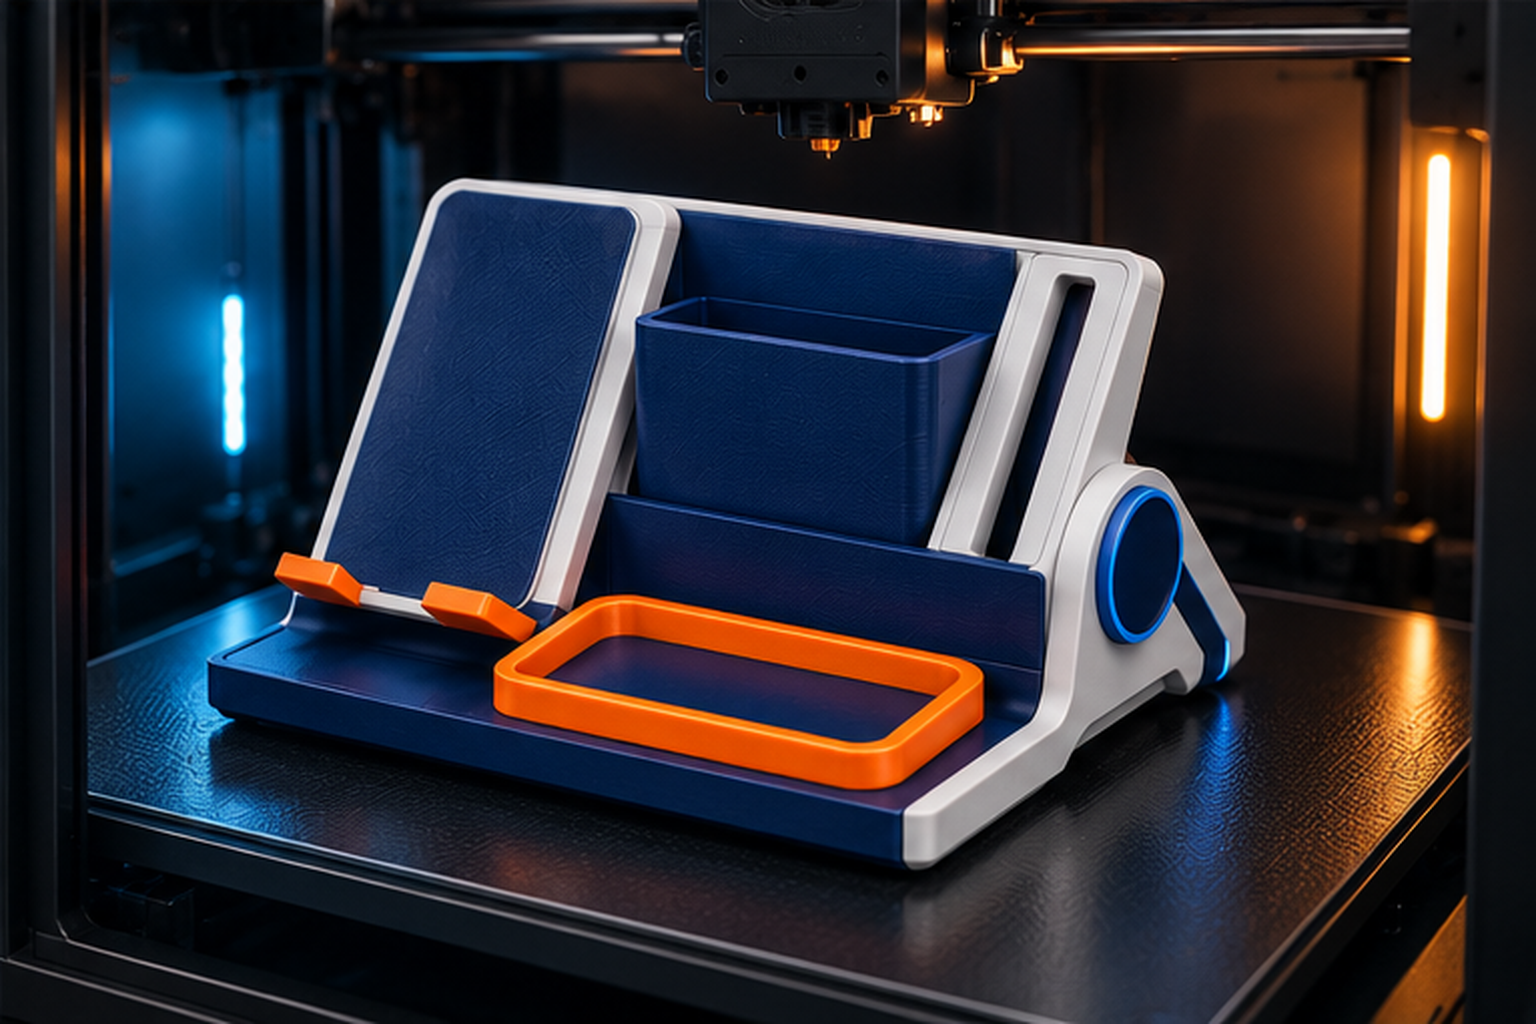
See what PrintNext can do. No subscription required.
1 credit Image Preview20 credits Create 3D Model
Create Studio guide
How to Turn an Idea or Image Into a 3D Model
PrintNext Create Studio helps you move from a written idea or approved reference image to printable STL geometry—without constructing the model vertex by vertex in traditional CAD.
Start with
Text or an approved image
Create
Printable STL geometry
Continue with
Color, slicing, and printing
Step-by-step
How to use Create Studio
The best results come from treating creation as a reviewable workflow: describe, inspect, approve, build, verify, and then continue into color or slicing.
- 1
Describe the model you want
Start with the subject, purpose, major features, and visual style. A clear prompt gives Create Studio a better foundation than a string of disconnected keywords.
Example: “Create a friendly sitting dragon figurine with broad wings, a stable rocky base, and bold scales for an easy-to-read print.”
- 2
Review and approve the concept image
The image is a visual plan for the model. Check the silhouette, pose, proportions, and major features before you approve it. If the concept is not right, revise it before building geometry.
A single image cannot reveal every hidden surface. The finished 3D model will interpret details that are not visible in the concept.
- 3
Build the 3D model
After approval, Create Studio turns the concept into three-dimensional geometry. Inspect the result from multiple angles and confirm that the overall form matches the idea you approved.
Create Studio is best suited to original visual models such as characters, creatures, figurines, gifts, decorations, and display pieces.
- 4
Check size and printer fit
Review the model dimensions and compare them with the active printer build volume. Scale is part of print preparation, so do not assume the first generated size is the final print size.
Precision fits, mechanical tolerances, and safety-critical parts still need purpose-built CAD and engineering validation.
- 5
Continue to Color Studio when needed
Send the generated STL to Color Studio to create automatic or manual printable color regions, match the design to filament you own, and prepare a multicolor 3MF.
An STL primarily carries geometry. A 3MF can preserve richer color, material, and project information for the next stage.
- 6
Export, slice, and verify
Download the STL, or continue through Color Studio for a multicolor 3MF. Open the result in your slicer and verify scale, orientation, supports, material mapping, printer profile, and print settings.
The slicer remains the final authority before printing. A generated model or exported 3MF is not a substitute for the printer-specific slicing check.
What Create Studio is best for
Use it for original, visually driven models where the overall subject and appearance matter more than exact engineering tolerances.
- Characters and creatures
- Figurines and collectibles
- Gifts and decorations
- Display models and artwork
When to use dedicated CAD instead
Use engineering CAD and appropriate validation when a part depends on exact dimensions, controlled clearances, load-bearing behavior, or safety-critical performance.
Create Studio produces a new interpretation of an idea or image. It is not a dimensional scan and should not be treated as one.
Review the concept before building geometry
For a small creature figurine, ask for a clear pose, broad readable features, and a stable base. Before approving the reference image, check that the silhouette matches your idea and that limbs or accessories are not hidden behind each other. After generation, rotate the model to inspect the back and underside; one reference image cannot specify every hidden surface.
- Review the displayed credit requirement before each generation action.
- Revise the concept before generating geometry when the main shape is wrong.
- Inspect the generated model and final slice; use CAD when exact mechanical dimensions matter.
Create the model, then choose the next step
Open Create Studio to begin with an idea or image. When the geometry is ready, download the STL, keep the project in your workspace, or continue to Color Studio for a multicolor 3MF workflow.