What image works best?
Use a clear, well-lit image with one complete object, limited background clutter, and no important parts cut off by the frame.
PrintNext Create Studio
Upload a clear JPG or PNG reference, approve the object you want to make, and generate a printable 3D model. Download the STL or continue into Color Studio for multicolor preparation.
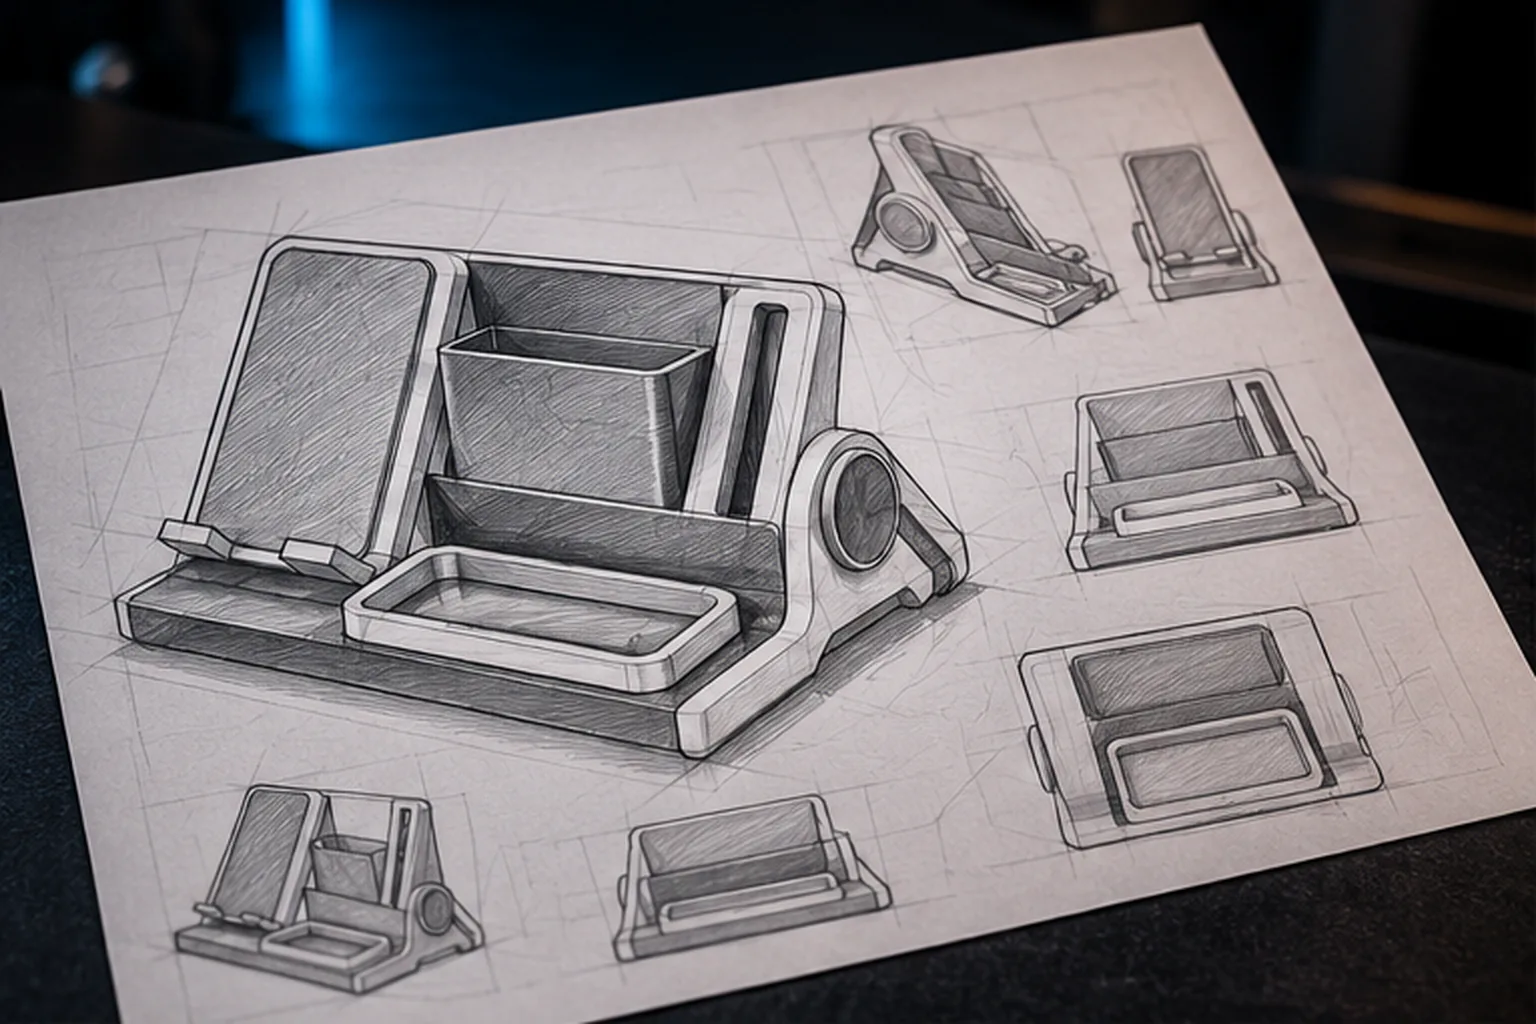
Complete PrintNext workflow
Create Studio uses the approved image as the visual source, interprets unseen surfaces, builds three-dimensional geometry, and keeps the result connected to download, Workspace, Color Studio, and slicer verification.
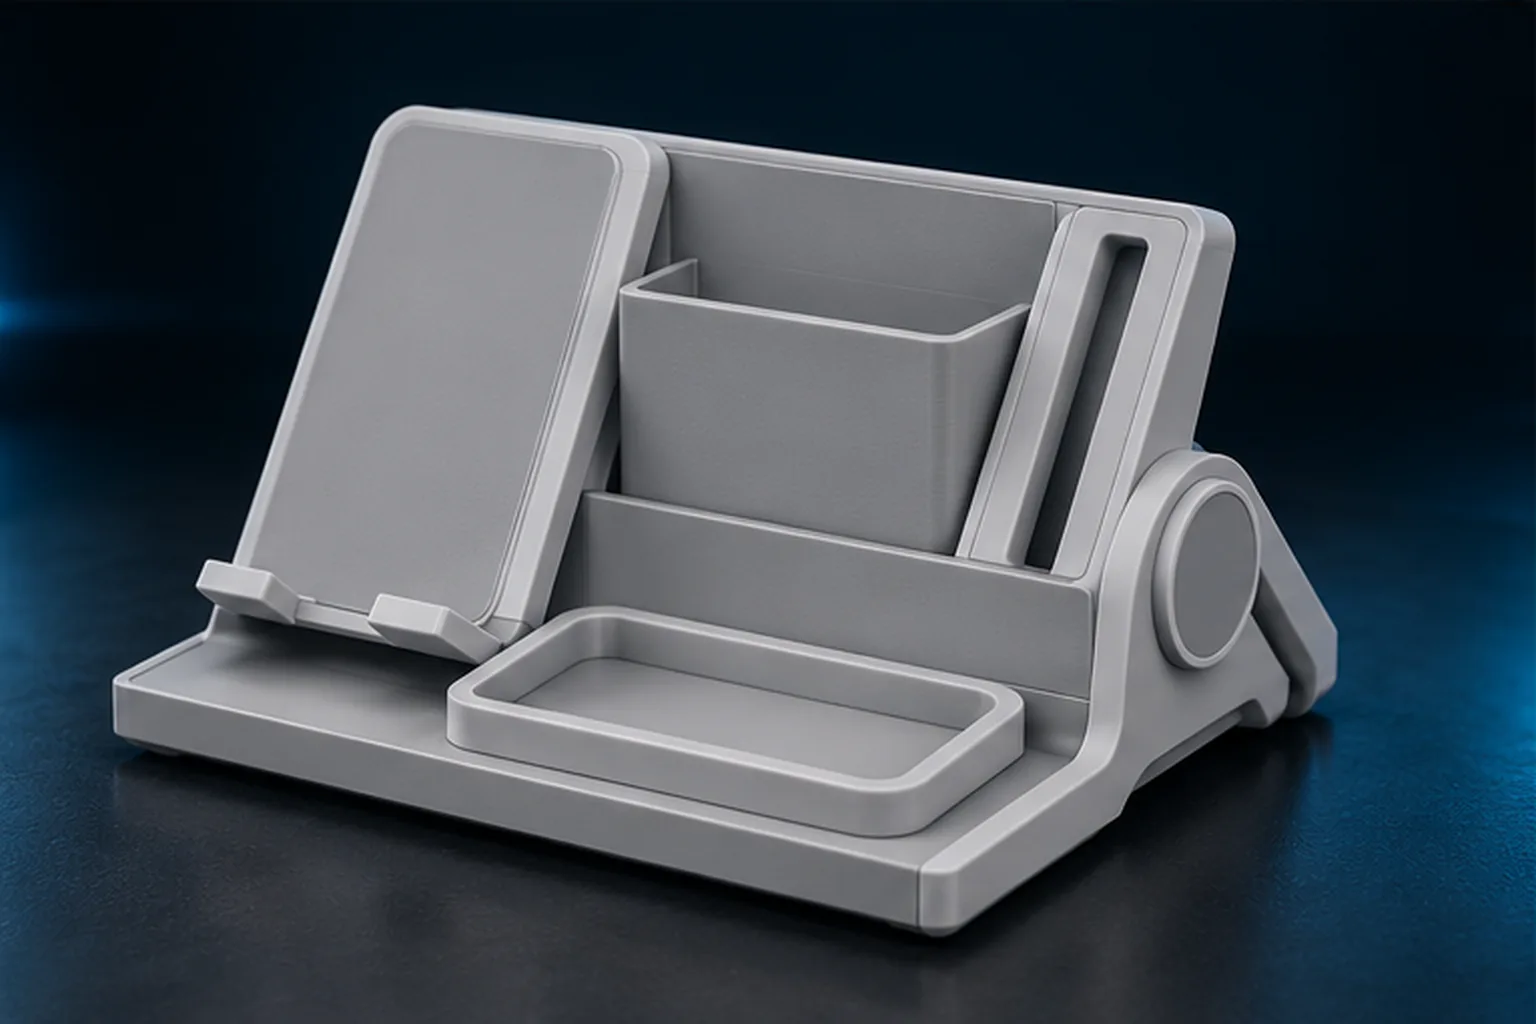
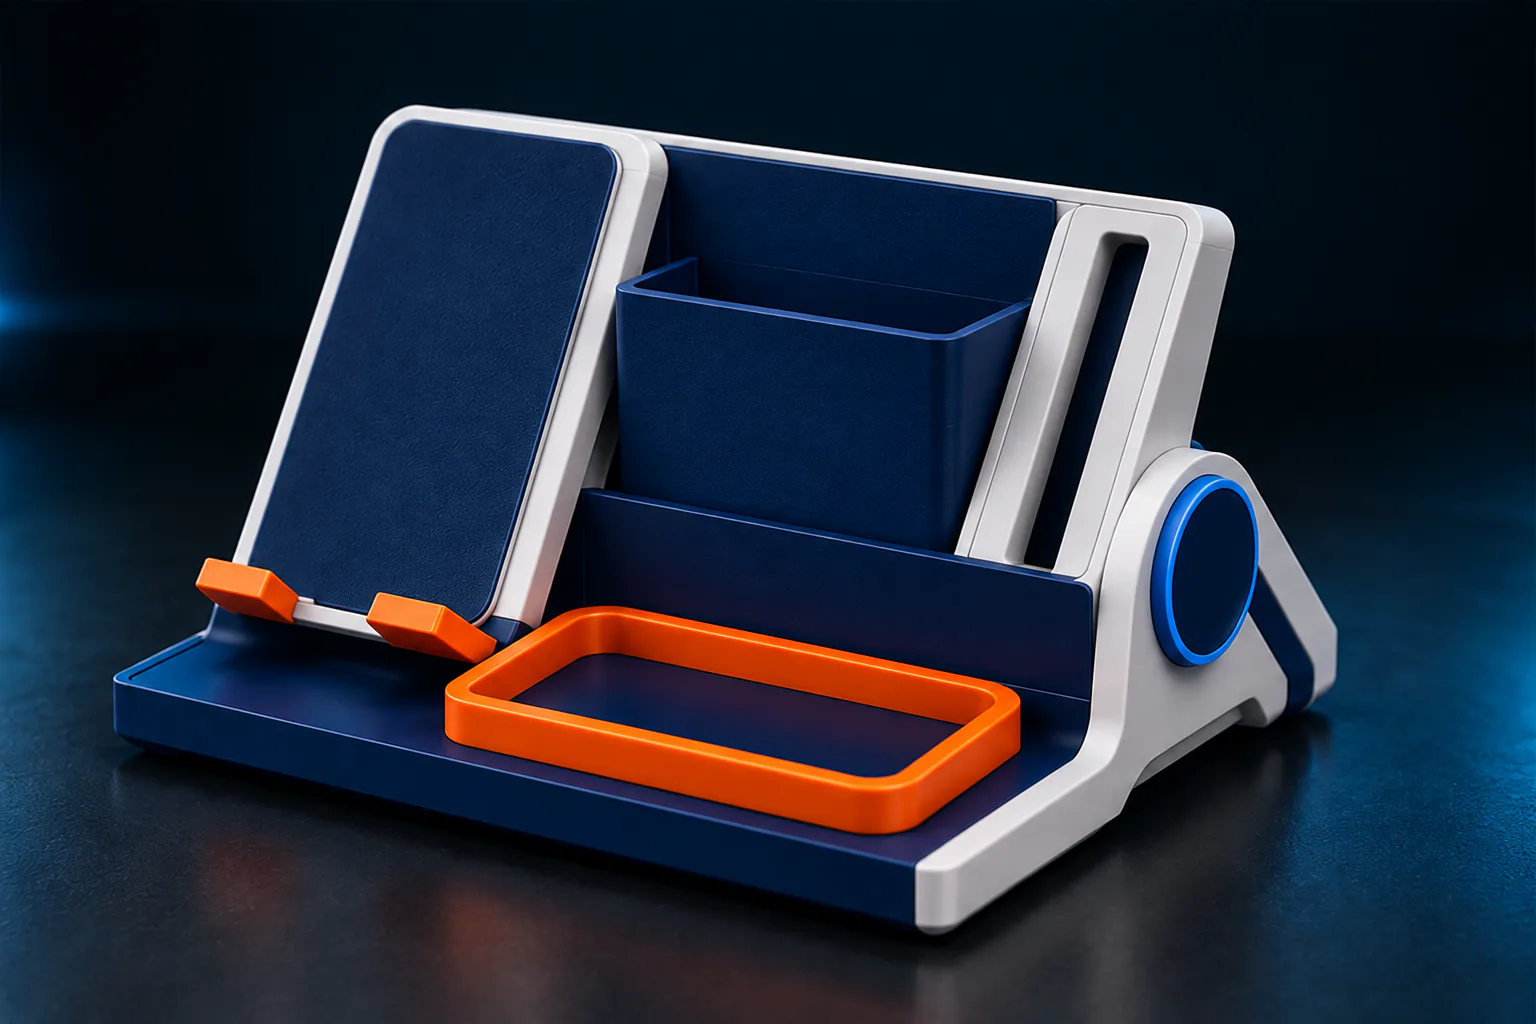
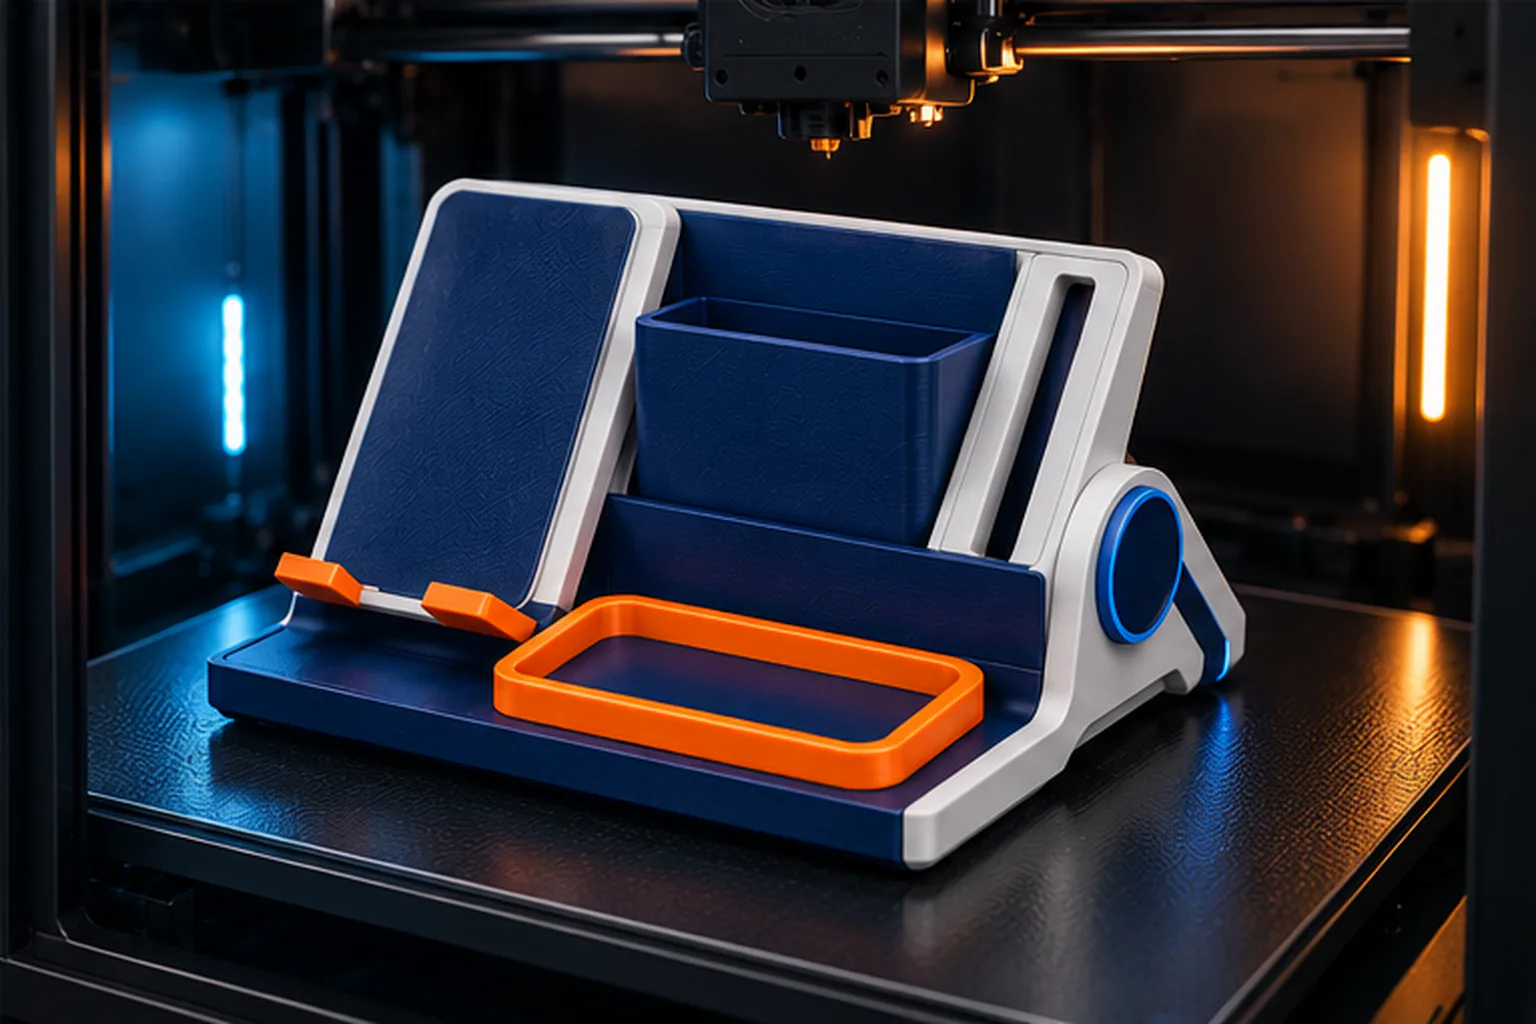
Reference image to printable geometry
Yes. Upload a clear reference image, confirm that it contains the printable subject you want, and use Create Studio to build a new three-dimensional interpretation. It is image-to-3D generation rather than an exact scan.
Use a clear, well-lit image with one complete object, limited background clutter, and no important parts cut off by the frame.
No. A single image cannot show hidden surfaces. Create Studio interprets the unseen geometry, so the result should be reviewed as a generated 3D model rather than an exact reconstruction.
Create Studio is designed for complete visual subjects. Flat marks, exact logos, dimensioned parts, and relief geometry may need a dedicated vector, CAD, or embossing workflow.
Yes. Open the resulting model in Color Studio, prepare editable color regions, match real filament, and export a slicer-ready multicolor 3MF.
The approved source image stays central to the generation decision while PrintNext makes the limits of single-view interpretation clear.
Input
Review the JPG or PNG before generation so the model is based on the intended printable subject.
Output
The result includes inferred depth and hidden surfaces that were not visible in the original image.
Next step
Download the STL or move into Color Studio, then verify the final file in the target slicer.