

Pick Printable Regions
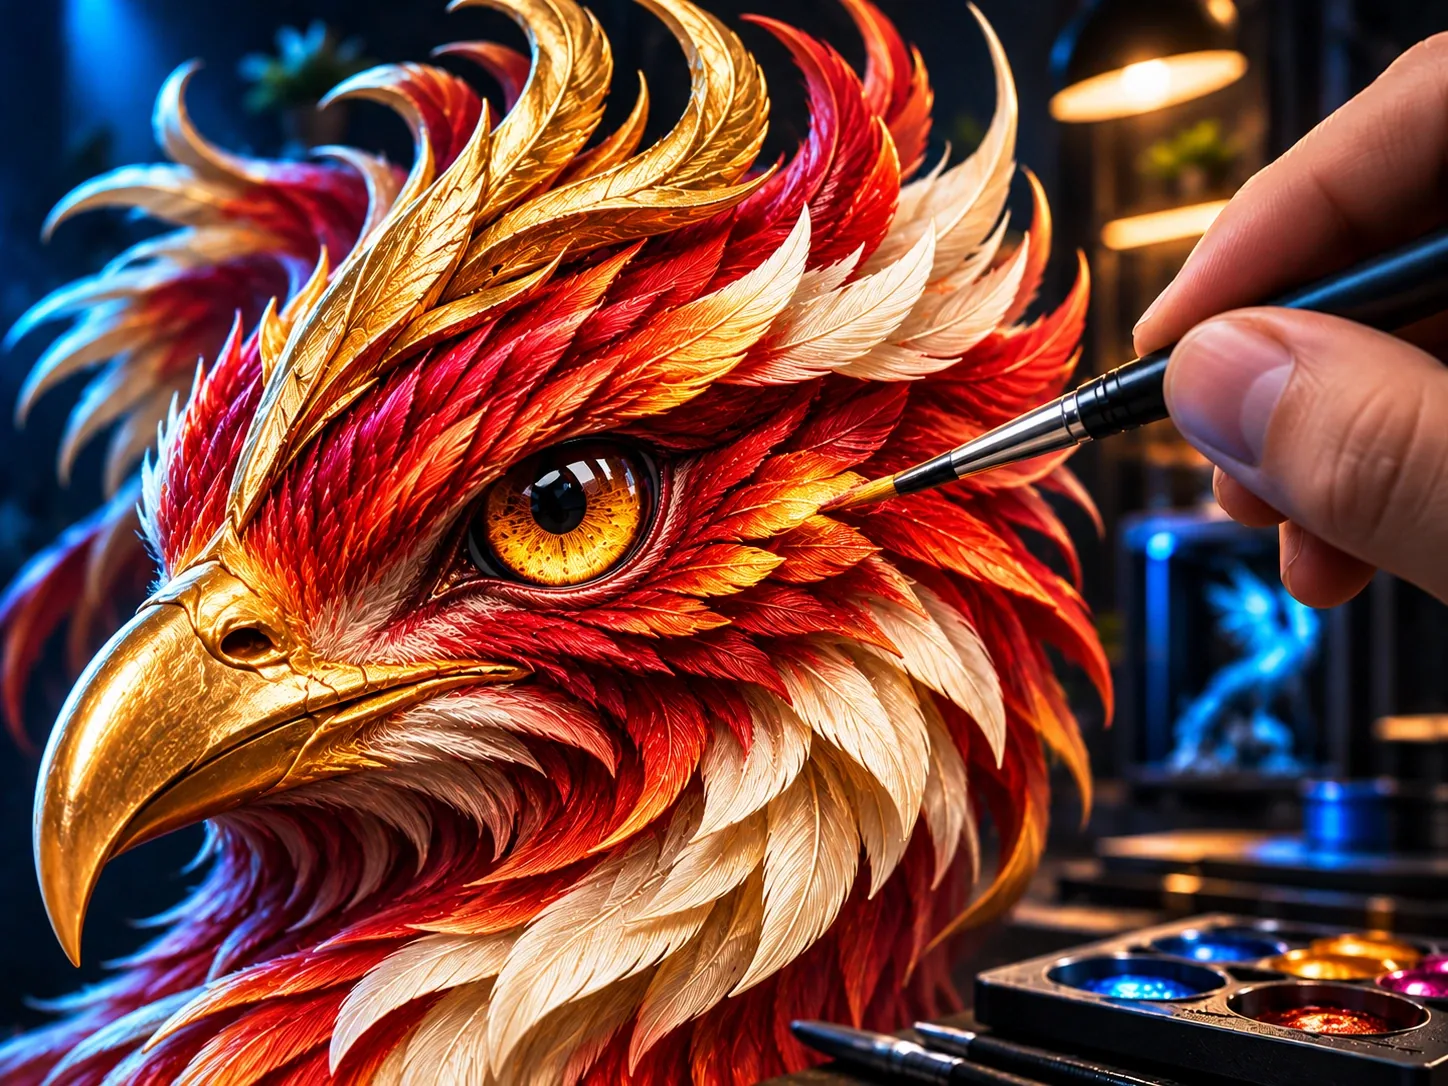
Select a prepared region, choose a filament color and apply it to that area.
PRINTNEXT MANUAL COLOR STUDIO
Make It Uniquely Yours. Create Something You’ll Be Proud To Print.
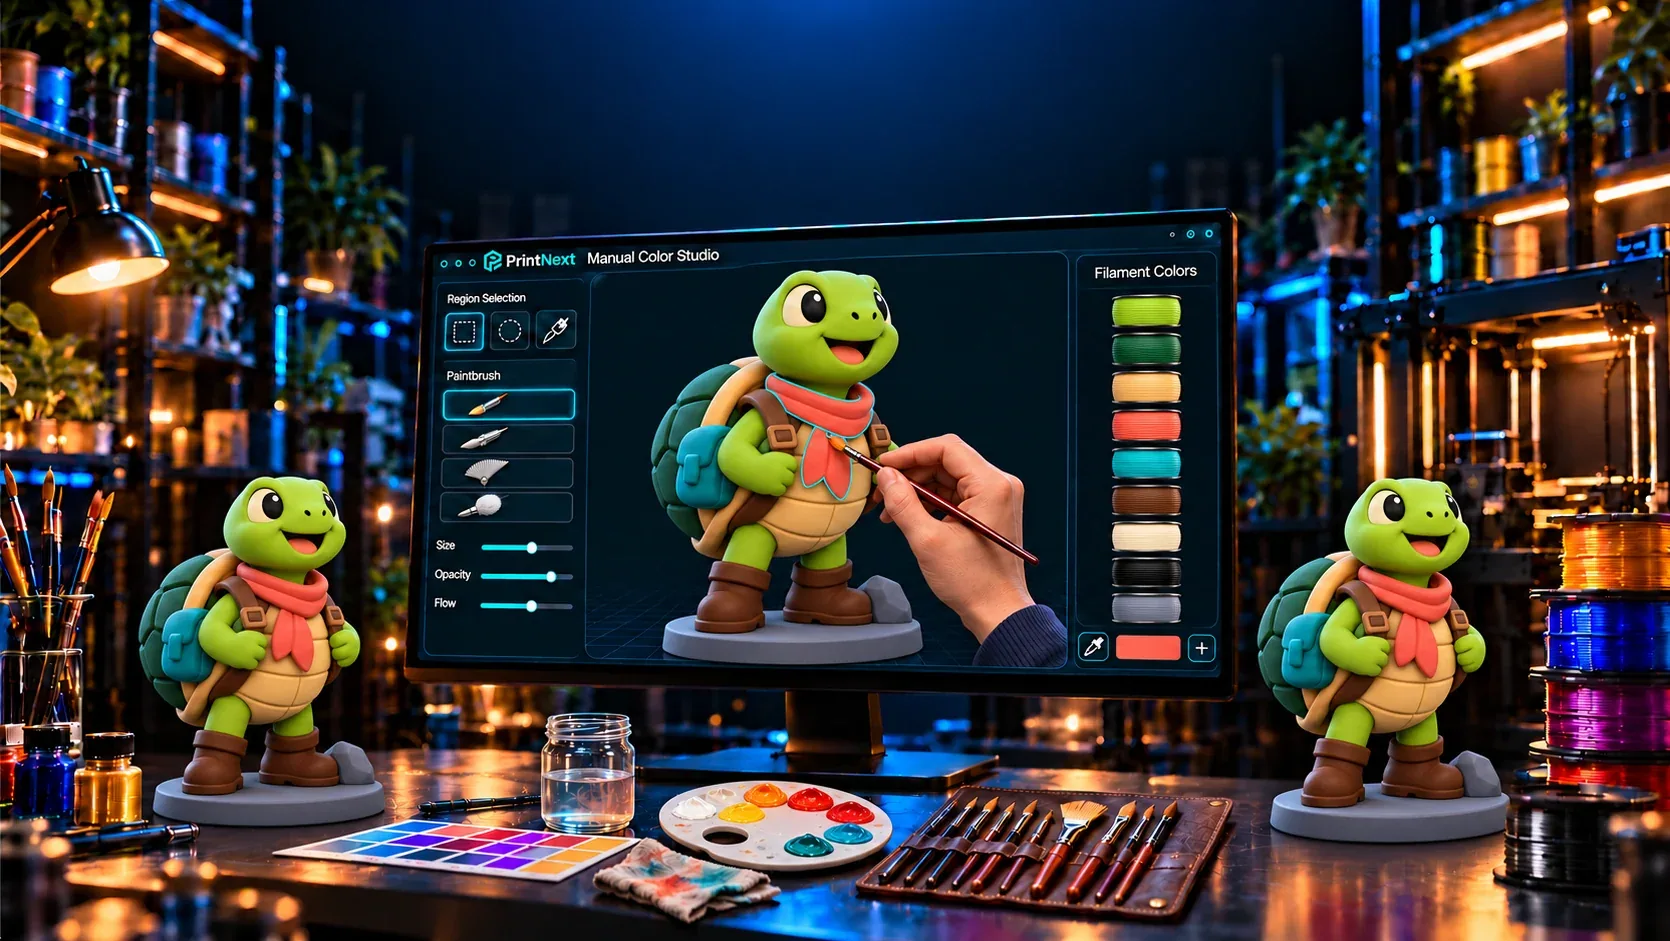
Paint & Apply Your Filament Colors Directly Onto Your 3D Models.
Use Advanced 3D Manual Painting Tools To Customize Every Detail. Bring Your Models To Life With Color, Character & Your Personal Style.
PrintNext Manual Color Studio Is Free To Use & Does Not Use PrintNext Credits.
Real tools. Real creativity.
HANDS-ON COLORING
Work across larger areas, paint the details and build a color design that feels like yours.
Select a prepared region, choose a filament color and apply it to that area.
Select panels or rounded surfaces. Review and adjust the selection before applying color.
Paint smaller details directly on the surface. Adjust your brush size or erase detail paint to refine your work.
Choose model color slots and plan a palette around the real filaments you intend to print.
Select top surfaces, outer walls or the bed side, or use a height band to define a section.
Rotate your model to check every side, repaint an area or use Undo to step back through changes.
FROM MODEL TO MULTICOLOR
Explore the sample or bring a supported STL, 3MF or Workspace model.
Pick a filament color, select the area and use the tool that fits the detail.
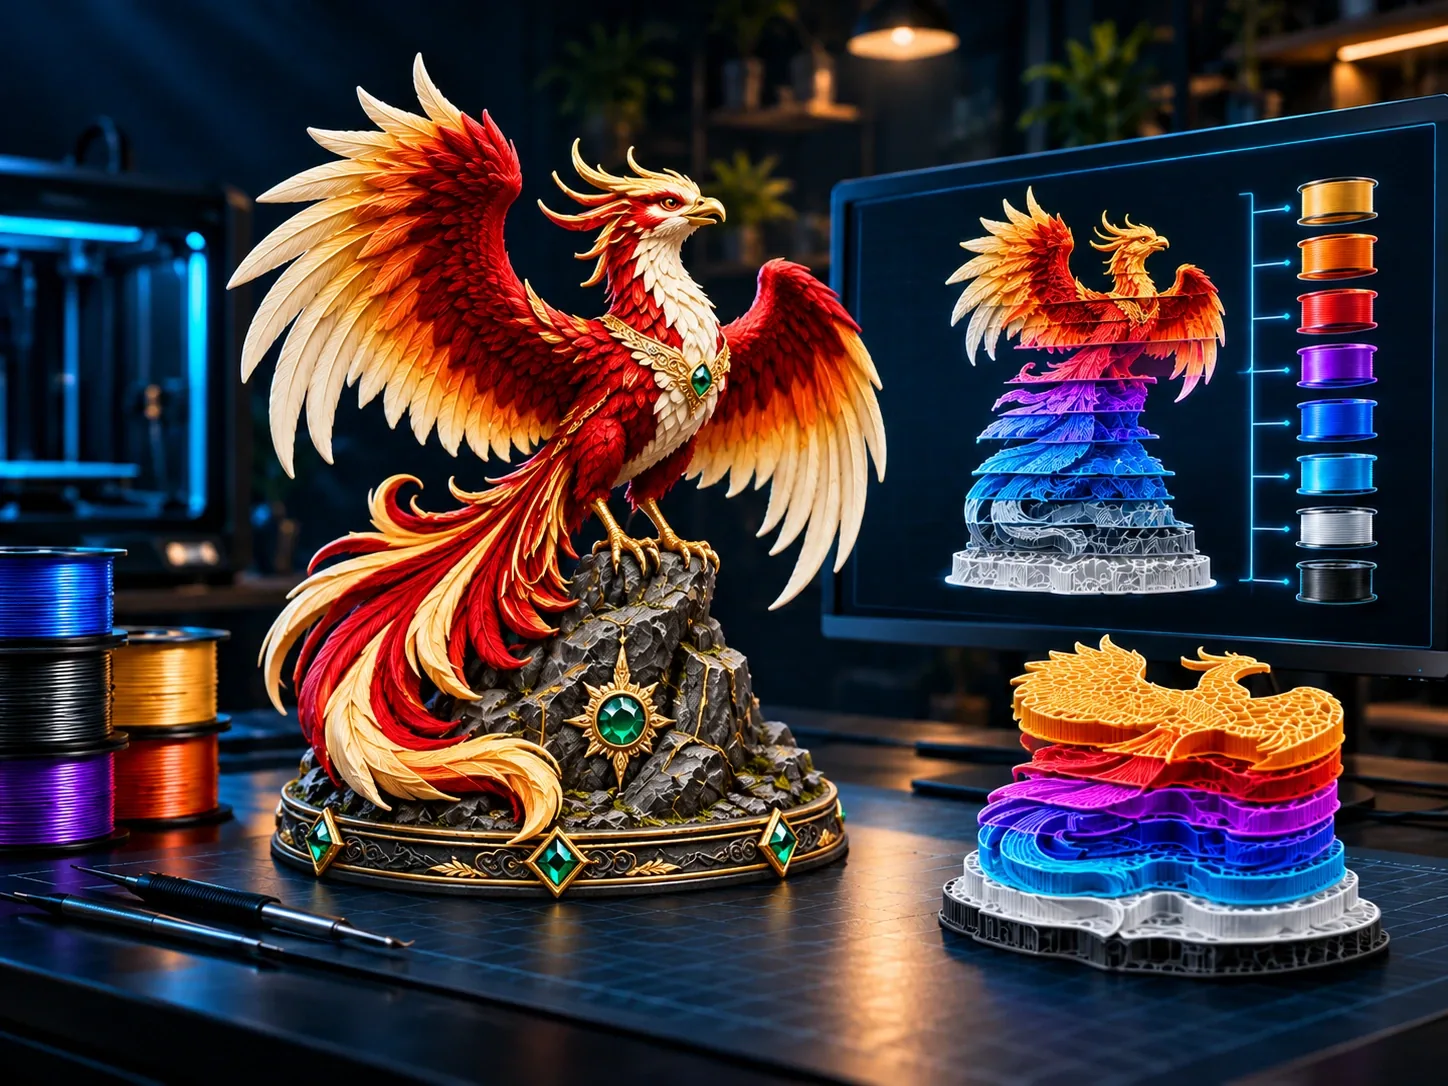
Inspect every side, export a supported 3MF and verify it in your slicer.
The painting tools are free to use. Your account’s save, export and storage allowances still apply. Review Plans & Allowances
Know what to expect before you start coloring.
Manual painting tools use no PrintNext Credits. Try the prepared sample before creating an account. Free accounts receive three lifetime manual Color outputs: counted saves, exports and studio handoffs share this allowance. Saving and exporting require an account and follow its storage limits. Additional new outputs follow the current plan or credit policy; reopening an already unlocked saved version stays included.
Open a supported STL or 3MF, or choose a saved model from Workspace. Prepare selectable regions when needed, pick a filament color and start with larger areas before refining details. Supported files must meet the studio’s existing format and capacity checks.
Not necessarily. Prepared regions, flat and curved selections, surface zones and height bands help you work across larger areas. Use the brush where you want finer control. The most useful selection depends on your model’s shape and topology.
Choose another color and repaint the selected area, erase detail paint, or use Undo to step back. Clear All Colors resets the model’s coloring, so save work you want to keep before starting a different design.
The manual paint tools assign colors; they do not sculpt or rebuild the shape. Keep your original file, inspect the scale and details, and check the exported model in your slicer before printing.
Export a supported multicolor 3MF and open it in a compatible slicer. Map its color assignments to your actual filaments, select the correct printer profile and review the sliced layers. Your printer, available color slots and slicer settings determine the final print.
Manual Painting Is Free. Saving & Exporting Follow Your Account’s Allowances.