
Illustrated 3D printing workshop with enclosed printers, filament spools and printed vases
Choosing What To Print Next

How to Match 3D Prints to Your Printer and Filament

Learn how to match 3D print ideas to your printer, available filament, build volume, material needs, estimated grams, cost, and print time before you start.

Last updated 2026-09-30

Your 3D printing life, connected

Spend LessTime Searching.Spend More Time3D Printing.

Best Matches Found

Ready with your filament

Uses your colors
Fits your printer
Ready to print now
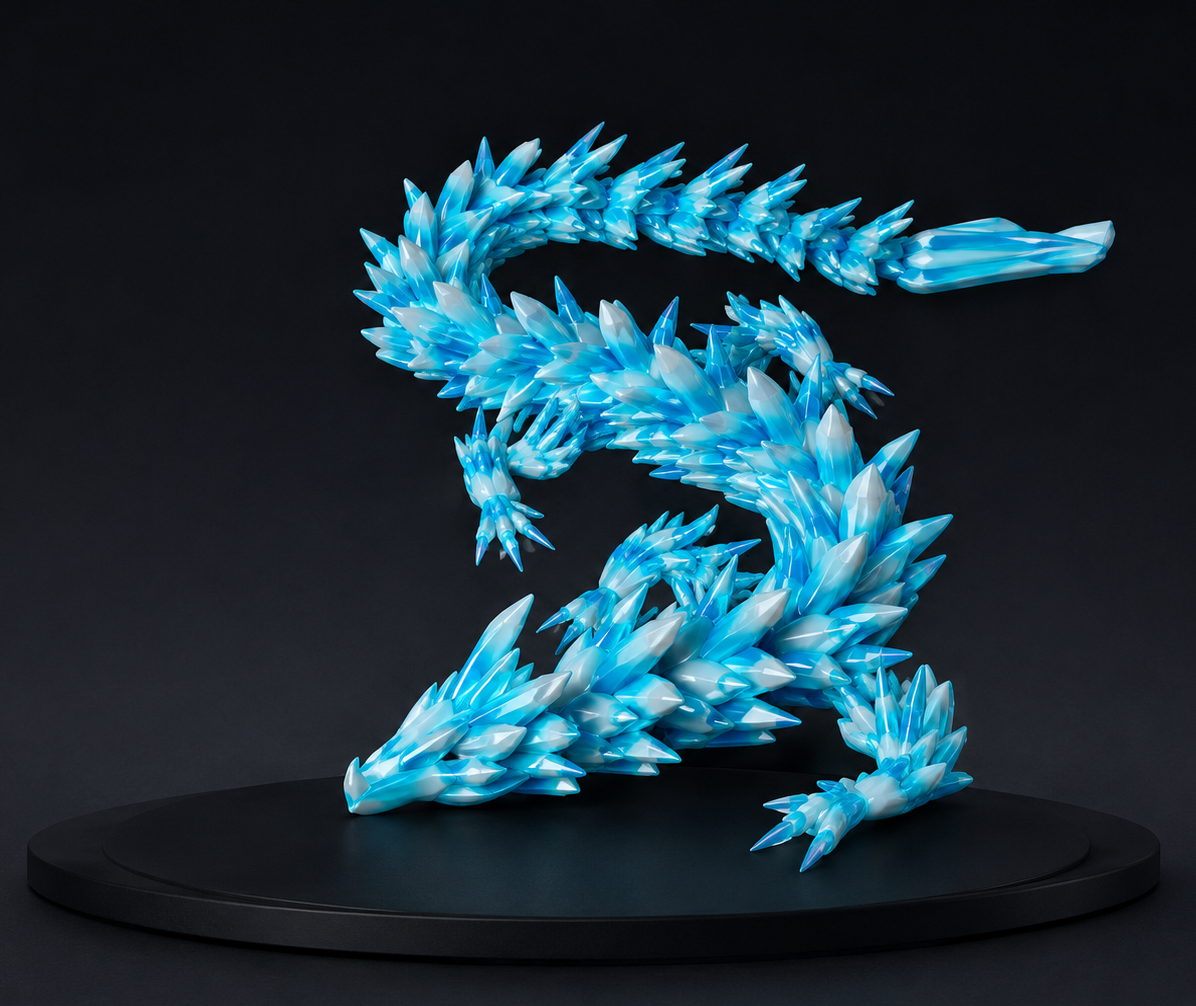
Water Dragon matched 3D print
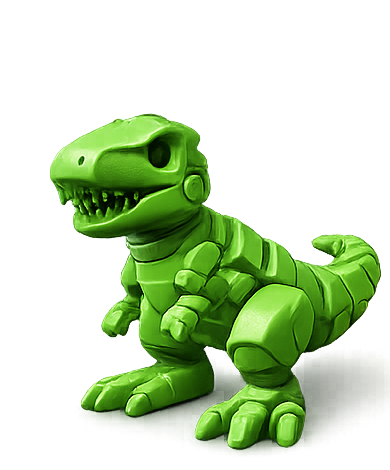
Flexi Toy matched 3D print
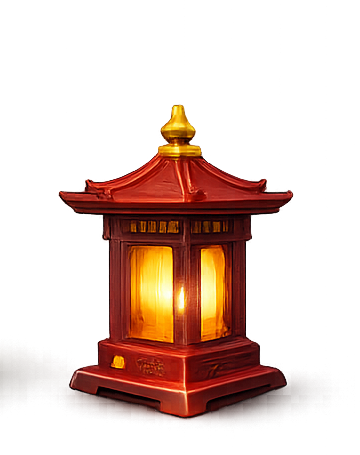
Dragon Lantern matched 3D print

With millions of printable models online, it is easy to spend more time searching than printing. PrintNext matches recommendations against your printers, projects, and filament inventory so you can choose a realistic next print.

PrintNext Intelligence

Best Pick

Uses Your ColorsChecks Your PrinterReady Right Now
View all
Water Dragon 3D printable recommendation

Water Dragon

4.9 (128)

Printer fit

100%

Filament available

Yes 4 Spools

Estimated cost

$2.70 USD

Print time

6h 22m

After print inventory

-142g used White PLA: 928g left

Workflow

Step 1

Add your printer

Step 2

Record filament inventory

Step 3

Browse matched recommendations

Step 4

Review fit, material, cost, and time

Step 5

Open the original model source

Step 6

Save, slice, and verify

Why generic model search wastes time

A large model library can show you popular prints, but it does not automatically know what is practical in your workshop. A design can look perfect and still be too large for the build plate, require a material your printer does not handle well, use more filament than remains on the spool, or take longer than you want to spend.

  • Popularity does not confirm printer fit or material compatibility.
  • A model preview rarely reflects the colors and spool amounts you actually own.
  • Estimated grams, cost, and time matter before a long print begins.
  • Setup-aware matching narrows the list before you spend time downloading and slicing.

Step 1: Add your printer profile

Begin by recording the printer you plan to use. Build volume is the first fit check, while nozzle size, supported materials, and multicolor capability help narrow the models and workflows that make sense for that machine.

  • Confirm the usable X, Y, and Z build dimensions.
  • Record nozzle size and the materials the printer is configured to use.
  • Note whether the setup supports automatic multicolor printing or manual color changes.
  • Keep multiple printer profiles when your machines have different capabilities.

Step 2: Record your filament inventory

Add the material, color, and remaining quantity for each spool. Accurate inventory turns a broad list of interesting models into a smaller list of realistic projects you can start with what is already on your shelf.

  • Track material type such as PLA, PETG, TPU, ABS, or ASA.
  • Record colors so multicolor ideas can reflect your real palette.
  • Update remaining grams after a print so future matches stay useful.
  • Treat inventory as a planning estimate and confirm marginal quantities in your slicer.

Step 3: Browse setup-aware recommendations

PrintNext recommendations combine the model information available from the original source with the printer and filament details in your setup. Instead of asking only whether a model is interesting, you can ask whether it is a strong candidate for your next print.

Matching signalWhat it helps answer
Printer fitIs the model likely to fit the selected printer build volume?
Filament availableDo you have a suitable material, color, and estimated quantity?
Estimated costWhat could the planned material cost before slicing?
Print timeDoes the project fit the time you have available?
After-print inventoryHow much tracked filament may remain after the planned print?

Step 4: Check fit, material, cost, and time

Use the match card as a decision aid, not as a substitute for the original model instructions or your slicer. Review dimensions, orientation, supports, material guidance, estimated grams, cost, and duration together before committing to the print.

  • A 100% fit indicator is contextual to the recorded setup and available model metadata.
  • Material availability depends on accurate inventory and the model plan you choose.
  • Cost is an estimate based on tracked material values and expected usage.
  • Final time and grams can change with scale, layer height, infill, supports, and slicer settings.

Step 5: Open the original creator source

Before downloading, review the original creator page for licenses, assembly notes, print orientation, supports, remixes, and updated files. PrintNext keeps attribution and source links visible so discovery leads back to the model creator and the authoritative download page.

Step 6: Save, slice, and verify

Save promising models to your private workspace with source links and notes, then open the files in your preferred slicer. The slicer preview is the final authority for toolpaths, support needs, print duration, material use, and machine-specific settings.

  • Confirm model scale and orientation.
  • Inspect supports, overhangs, walls, infill, and adhesion settings.
  • Compare the slicer material estimate with your tracked spool quantity.
  • Record the finished result so future print decisions have better context.

What matching can and cannot confirm

Setup-aware matching helps you shortlist practical projects, but it cannot guarantee a successful print. Source metadata can be incomplete, inventory can drift, and slicer choices can substantially change material use and duration. Always inspect the files, creator instructions, and final slicer preview before printing.

Separate a promising match from a ready job

A model may fit a nominal 256 mm bed yet leave no room for its brim or prime tower. A matching recommendation is a useful shortlist entry; the final plate arrangement decides whether the job fits. Likewise, a blue PETG spool is not interchangeable with blue PLA without changing and checking the material setup.

  • Review dimensions after orientation and include all required plate objects.
  • Confirm each physical spool, its material profile, and the complete per-color usage.
  • Treat missing model metadata as something to verify at the source.

FAQ

Common questions

How do I know if a 3D model will fit my printer?

Compare the model dimensions with your printer build volume, then verify scale and orientation in your slicer. PrintNext can surface a contextual fit check from the setup and metadata you provide, but the final slicer layout is authoritative.

Can PrintNext tell me whether I have enough filament?

PrintNext can compare estimated material use with tracked spool quantities. Because inventory and slicer settings can change, confirm close estimates with the sliced file before starting.

Do I need an account to browse print recommendations?

You can explore public recommendation pages without an account. A free account lets you connect printer profiles, filament inventory, projects, and planning details to your own setup.

Does setup-aware matching replace my slicer?

No. Matching helps narrow and plan candidate models. Your slicer remains the final authority for toolpaths, supports, estimated time, material usage, and printer-specific settings.

How is this different from a generic 3D model search?

Generic search primarily ranks models by keywords, categories, or popularity. Setup-aware matching adds your printer, filament, remaining quantity, cost, and available time to the decision.

Continue learning

Related PrintNext guides

These pages connect the same workflow from file format decisions to color planning, inventory, and print cost.

View all guides